
Professional Guide: How to Install Axminster Carpet Correctly
Technical Installation Guide • Since 1998
Professional Axminster Carpet Installation: Engineering Standard & Step-by-Step Guide
Pattern Alignment | Power Stretching (1%-1.5%) | Latex Edge Sealing & Underlay Selection
Installing a premium luxury Axminster carpet requires extreme precision and seasoned craftsmanship. Due to its complex woven structure and intricate Jacquard motifs, strict installation protocols are vital to achieving seamless pattern matches, dimensional stability, and prolonged wear-life in high-traffic commercial hospitality environments.
1. Subfloor Inspection, Moisture Testing & Acclimatization
The foundation dictates the long-term flat performance. Ensure concrete or timber subfloors are structurally sound, dry (relative humidity below 75% or moisture content below 12%), level, and thoroughly vacuumed. For grand hotel ballrooms and public corridors, apply self-leveling latex compounds to eradicate localized depressions that lead to premature pile abrasion.
2. Centerline Layout, Pile Direction & Pattern Repeats
Establish precise chalk centerlines across expansive spaces like hotel corridors and ballrooms. Lay all carpet lengths with the pile sweeping toward the primary entrance or natural light source for optimal visual depth. Always cross-check factory vertical and horizontal pattern repeat measurements prior to trimming to prevent alignment drift over long distances.
Essential Professional Toolkit for Woven Axminster Installation:
Dual-blade trace seam cutters & professional heavy-duty carpet shears.
Commercial hot-melt seaming iron with heat-shield tray and wide seaming tape.
Mechanical power stretcher with multi-pin head and knee-kickers for pattern correction.
Latex seam sealer / edge sealer to lock cut woven backing edges and prevent yarn pulling.
3. Edge Trimming, Latex Edge Sealing & Hot-Melt Seaming
Cut seam edges cleanly between yarn rows from the face side using a specialized row separator and trace cutter. Crucial Step: Immediately apply a continuous bead of high-tack latex seam sealer along all raw cut edges. This locks the woven warp and weft yarns, permanently preventing fraying or pile loss along seamed joints.
Join sections using extra-wide commercial hot-melt seaming tape. Move the seaming iron steadily to allow full adhesive penetration into the primary and secondary backing, pressing firmly behind with a seam roller for invisible alignment.
4. Power Stretching & Architectural Edge Tucking
Woven Axminster requires systematic power stretching (target 1% to 1.5% stretch rate along length and width) to avoid future rucking or bagging. Hook carpet securely onto heavy-duty architectural tack strips (smoothedge) installed around the room perimeter. Trim excess material neatly and tuck the raw edge firmly into the 5mm gully between the tack strip and baseboard.
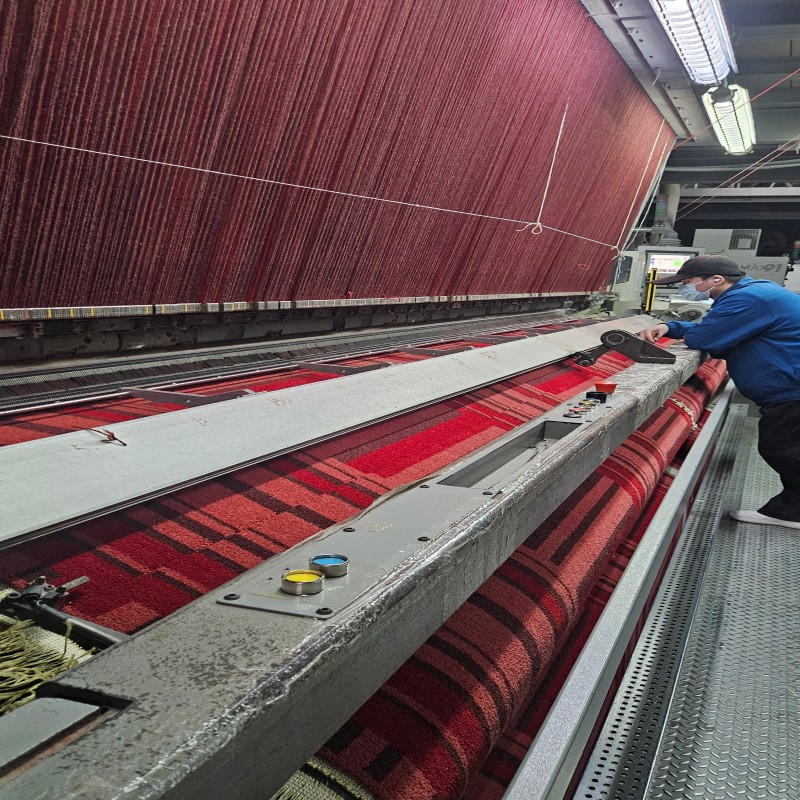
MJS Factory technical standard: Mechanical power stretching and pattern matching for luxury hotel installations.
Troubleshooting Bowing & Skewing in Pattern Match:
Minor bowing or skewing can naturally occur in woven textiles over long distances. Installers should utilize a power stretcher combined with localized knee-kicking to manipulate weft threads back into true 90-degree square alignment before final seaming. After installation, perform initial vacuuming with a dual-motor upright vacuum to gently remove loose surface fibers.